IR Thermography Improving Process, Performances, and Maintenance of Furnaces
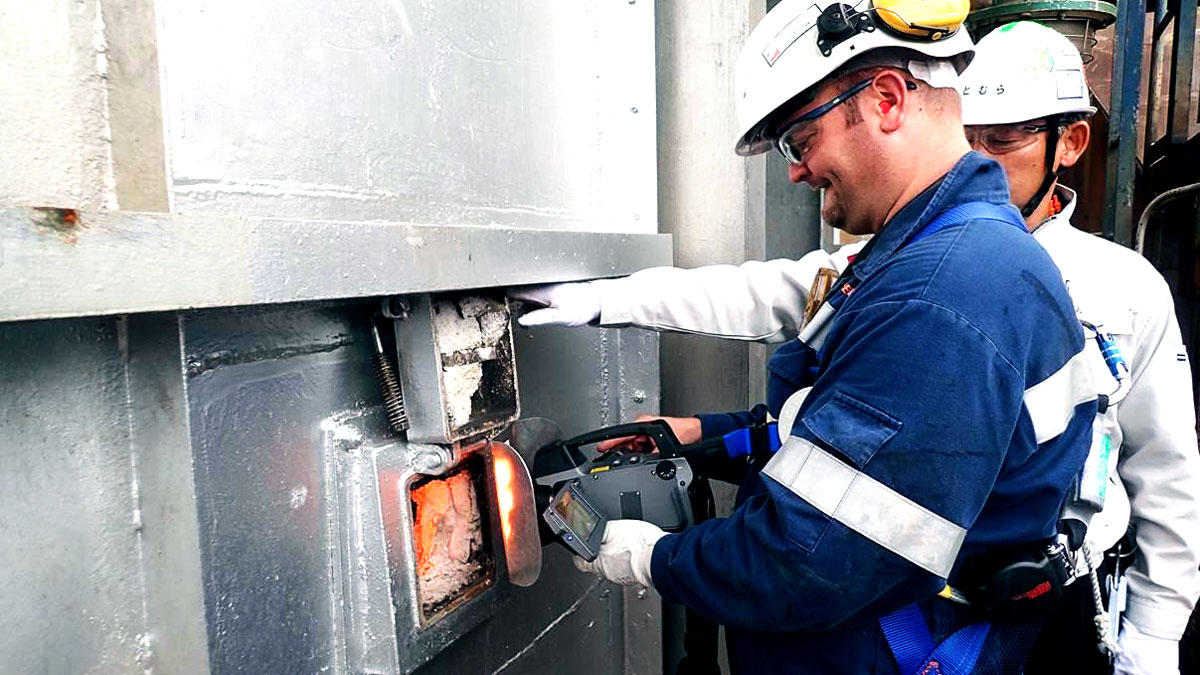
Petroval specializes in providing high skilled services to the refining and petrochemical industry from its four offices worldwide. Originally founded in 1990 as a catalyst dense loading company, Petroval later extended its services into Infrared (IR) Thermography for furnaces, with a department consisting of Refining processes and Infrared Thermography experts. Infrared Thermography is suitable for inspection and process improvements. Petroval experts carry-out comprehensive surveys of the furnace working parameters such as burning plan, flame shape/deviation, tube cleaning, air supply/distribution among others. On strategic furnaces the Infrared Thermography service can bring important improvements in terms of process, performances, and maintenance. This service can be tailor made to the refiner or petrochemical site requirements.
Hereafter is an example of direct assistance to the production department.
How would you react when tube skin thermocouple readings are constantly showing alarms when operating at max throughput? When tube skin thermocouples indicate high values and alarms are on all the time, the operation department must reduce the severity on the process in order to operate below the alarm level. The level of the alarms is set by the inspection department to ensure safe and long-term operation based on several criteria such as tube material and thickness, process conditions and operating pressure.
Based on experience, there are several options available that all have an impact on the heat duty of the furnace. Some people will reduce the combustibles or even switch off some burners in the area of the thermocouples in alarm, some will increase the air ratio on the burner to cool down the flames in the area. But these methods typically unbalance the furnace and reduce the duty and efficiency which is not recommended when production must be at maximum. People can also discuss with inspection department trying to push further the limit to avoid reducing the duty of the furnace… If the tube limit temperature set is not too low or too safe compared to the real mechanical condition of the tubes which can be sometimes accepted by the inspection department.
Ideally, you want to be able to ensure that your alarm is correctly indicating a real problem, rather than just a mechanical issue with the thermocouple (e.g., a loose thermocouple). One of the features of IR thermography inside the furnaces is to verify the readings of the tube skin thermocouples by measuring the tube temperatures in the area where the thermocouples are welded. Then several cases may be identified:
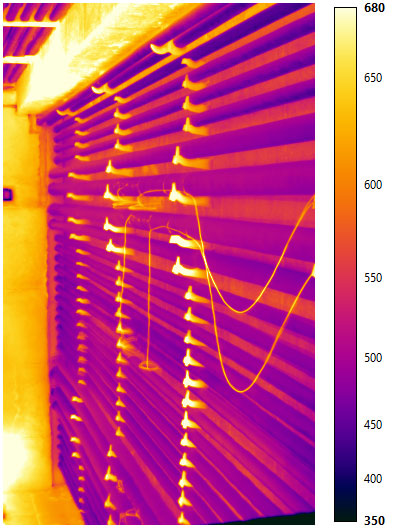
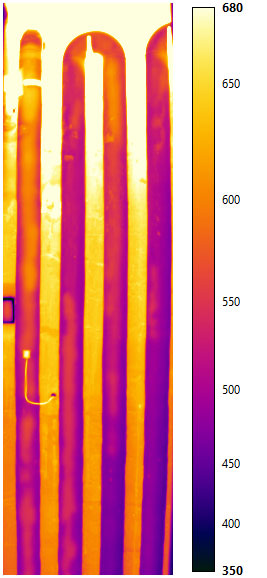
- The tube is not showing any hot area and the tube temperature measured by IR thermography in the area of the thermocouple is in the range of the expected tube skin temperature during normal operation. Then that thermocouple reading may be disregarded (based on the IR measurements) and operation may continue at maximum throughput knowing the thermocouple readings are wrong. Thermocouple may be replaced during the next opportunity shutdown (see figure 1).

- The tube is showing a hot area (only visible by an IR scanner properly calibrated) and that hot area is measured at a similar level of temperature than the thermocouple reading, then the issue is real, and the tube mechanical condition is endangered. Operation must reduce the firing on the furnace (at least in the problem area) in order to avoid a severe issue such as a tube rupture. It is then recommended to follow the hot areas regularly until a decoking shutdown is performed and confirmed by instrumented pigging or IR thermography at start-up (see figure 2).

- The tube is showing a hot area, but the tube temperature is significantly different from the thermocouple reading. Then the difference of temperature between tube temperature measured by IR and the thermocouple value can be used to offset the thermocouple reading on the furnace monitoring to stick to the reality of the operation. A safety margin of 10 to 20°C may be used to account for the potential error of measurement (depending on the tube condition and calibration parameters). The corrected thermocouple value will consequently be significantly lower than before, and the alarm level may not be reached anymore. It is then recommended (until a decoking shutdown is performed) to follow the hot areas regularly in order to check the deviations between skin thermocouples and IR measurements, so as to adjust the offset as necessary (figure 3).

- For 2 out of the 3 cases, the severity of the operation may be maintained at the maximum level and the validity of the thermocouple value is the real issue. The confirmation by IR thermography is provided instantly during the survey and the operation can be informed in real time. The opportunity to maintain the high level of operation when required represents an instant payback compared with turndown operation for wrong reasons.
Contact us for more information on how IR thermography can help you improve your operation safely and protect your assets. You can learn more on our website and social medias: www.petroval.com; https://www.linkedin.com/company/petroval
| Typical scope of work |
| Program/schedule of furnace(s) |
| Collection of parameters of furnace operation |
| Evaluation of tube cleanliness |
| Flame shape evaluation |
| Burner efficiency, cleanliness evaluation |
| IR Thermography on radiant/convection furnace tubes |
| Thermocouple reading validation |
| Casing of the outside refractory of the furnace (option) |
| Analysis of the IR measurements on site for debriefing |
| Advice on furnace operating parameters |
| Redaction of documented report per equipment |
| Infrared Thermography features |
| Full vision of the real situation of each tube |
| Validation of thermocouple readings |
| Optimization of burning plan |
| Immediate decision on furnace feed flow adjustment |
| Preparation of maintenance shutdown on damaged tubes, supports, refractory |
| Tube cleaning program optimisation and preparation |
| Accurate Infrared measurements/specific calibration method |
| Zero point after cleaning or commissioning |
| Test run to increase the duty |


